

For those of you that don't own Photoshop, GIMP is a great free alternative. It normally works about the same as Photoshop, with just a few minor adjustments (and some things with different names). I normally prefer to work in Photoshop, but it is actually easier to make backgrounds using GIMP.
First, we are going to create a new image. Go to "File" -> "New" and this dialogue box will appear. For our background, we don't need too large of an image (since we are going to make it a seamless, repeating background). Let's make this image 200x200 with a 300 ppi resolution.

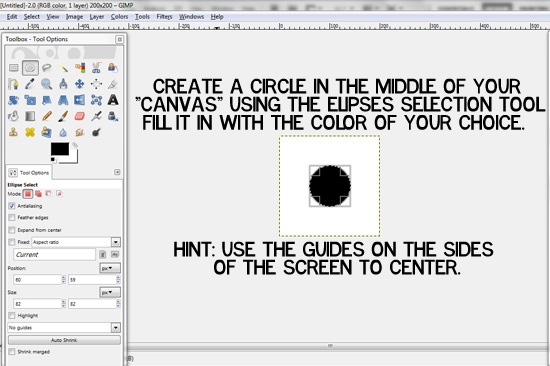
Once we have our image, we are going to create a circle in the middle. Use the ellipses selection tool while holding down the "shift" button on your keyboard to make a perfect circle. Make sure that your foreground color is the color that you want your dot to be, and then navigate to the "Select" drop down menu. At this point, select the "fill with Foreground color" option and your dot should turn that color. Then, using the move tool and the guides on the sides of the screen, center your circle.
Once things are all centered, right click on the layer in the "layer properties" menu and select "Flatten Image". This is important, otherwise the next step will not work.

Once your image is flattened, go to filters -> map -> and then select "make seamless".

The process might take a moment to load, but the image should turn out looking something like this:

Your background file is now complete! Save this file as "background". We will upload this file to blogger in a few classes when we put all of our elements together to make our blog design!
Just in case you were wondering, your image will look something like this as a background (depending on the colors you choose).

Whew! We've got our background! Tune in Monday for the next class- we'll be working on our blog header!
No comments:
Post a Comment