

1. Find your fabric. Personally, I like fabric that is bright and colorful. It just makes me happy. My mom on the other hand (she's who I'm making this one for) likes colors that are a little more toned down, like blues, blacks, and browns. So, I picked this fabric for her.

Since the strap is kind of narrow, I would stay with fabrics that have smaller patterns (unless it's one that it's okay to just see past of the pattern). For example, this flowery fabric looks okay even when you can just see part of it. This cupcake one, not so much.
2. Cut your fabric. I recommend getting your camera strap and measuring it to see how long and wide you want to cut your fabric. I always cut mine a little bigger than I think I'm going to need it. You will want to add an inch or two to your length and about an inch to the width to account for the hems and seams.


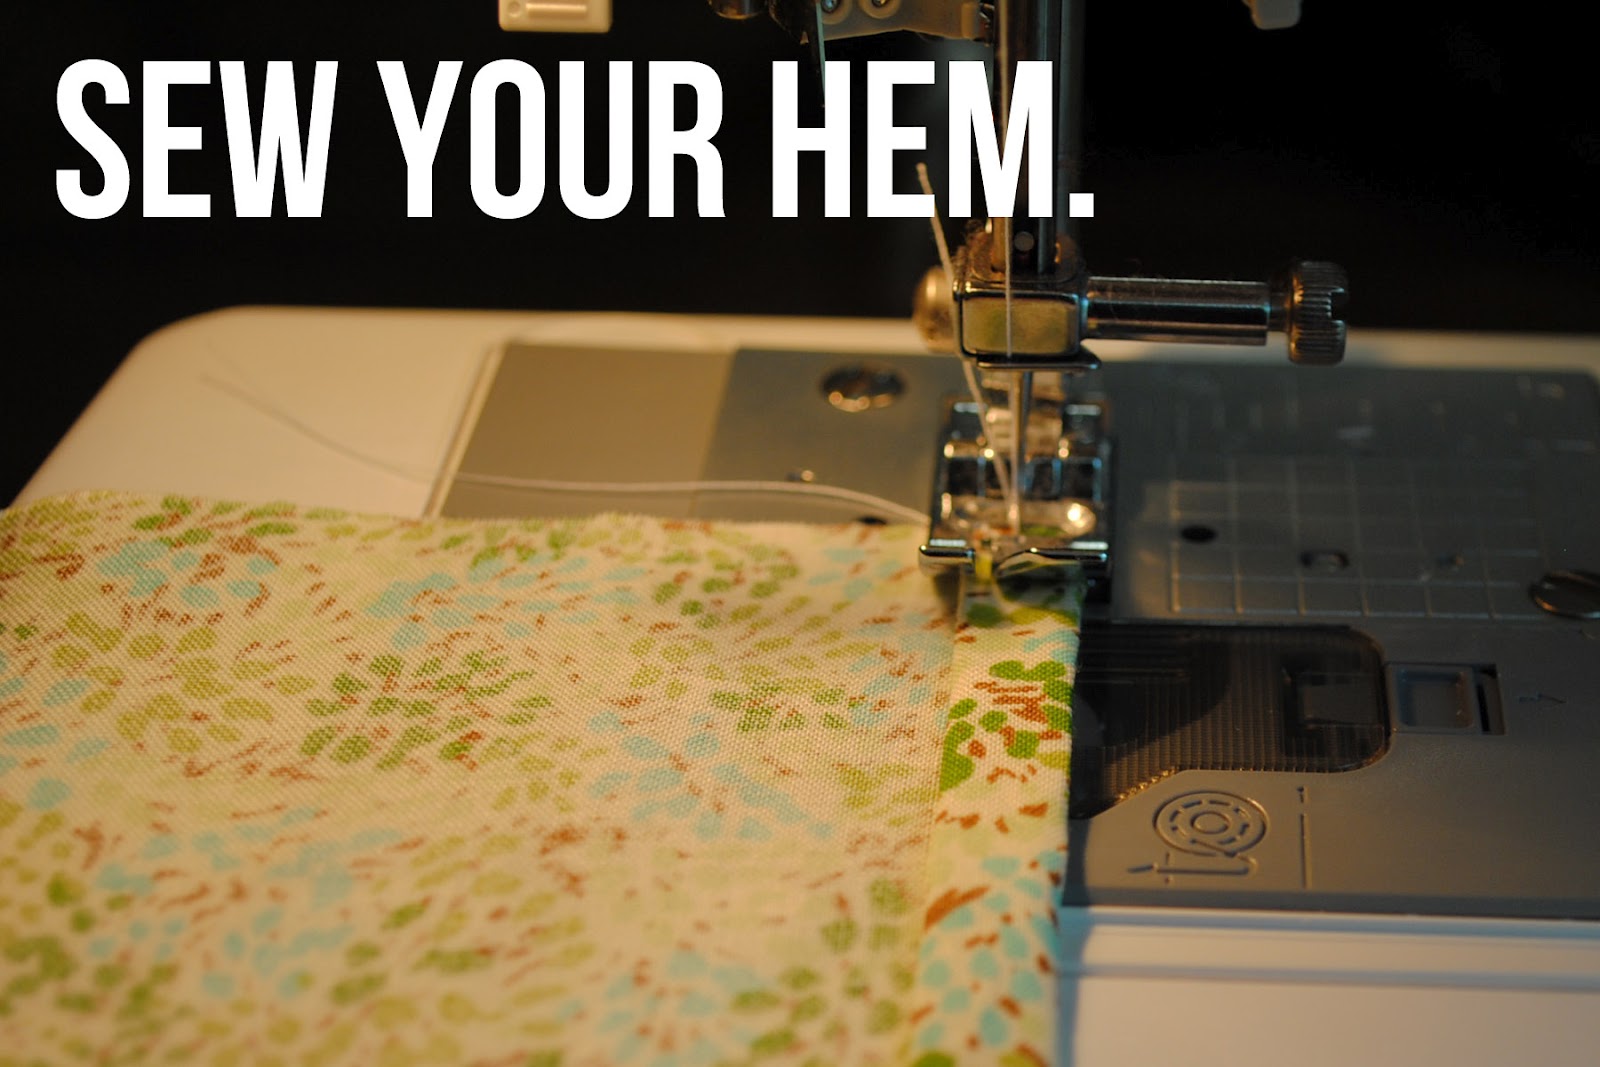
3. Okay, so now we're going to start the "real" sewing business Hold on to your hats girls! First, we are going to hem the ends of our fabric. This is so that they don't fray and have threads everywhere. If you're like me (and you're lazy), hemming can be one of the most boring (but necessary) parts of just about every sewing project. But, it's one of those things that we just have to do. Lucky for us, for this project, we just have to hem the short ends! First, you need to fold down your ends about 1/4 of an inch.

4. Now we are going to sew this fabric into a tube. First, you need to fold your fabric "hotdog style" (that's what we called it in elementary school anyways!). Make sure that you have the right sides of your fabric facing each other. It should look like this (skinnier than before).

Now, you are going to sew in a straight line down your fabric. I like to sew about 1/4 of an inch away from the side of my fabric. Some people sew farther over. This is why we added the inch to the width of our fabric earlier. Whatever you do, don't sew too far away. Make sure that the distance between the fold and the line you sew is at least as big as your camera strap. Otherwise, it won't fit.
5. Okay, we are almost done (and we ARE done with the sewing part of this tutorial!). Now, you are going to take your fabric and turn it inside out (well, actually you're turning it right side out. But, you get the idea). Just start squishing the fabric through the hole. If your strap is super skinny, you might want a chopstick to help you push it through.


No comments:
Post a Comment